This manual guides users through the features, operation, and maintenance of White sewing machines, ensuring optimal performance and longevity for models like W1510, 1740, and 1599.
1;1 Overview of the White Sewing Machine
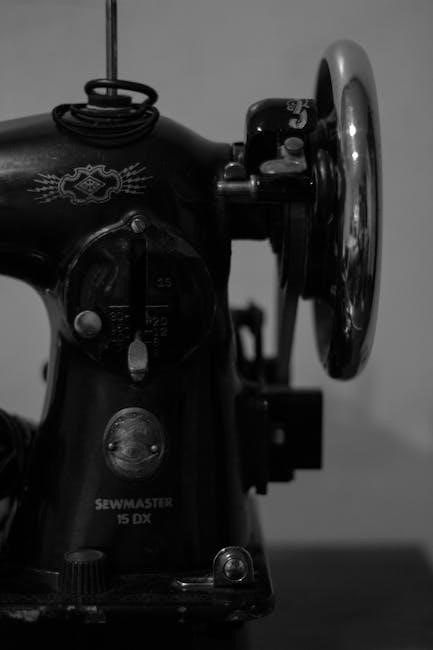
The White Sewing Machine is a versatile and reliable tool designed for a wide range of sewing tasks. Known for its durability and user-friendly design, it caters to both beginners and experienced sewers. Models like the W1510, 1740, and 1599 offer advanced features such as automatic blind hemming, scallop stitching, and free-arm sewing capabilities; These machines are equipped with built-in accessories and intuitive controls, making them ideal for crafting, repairing, and heavy-duty projects. Their robust construction ensures long-lasting performance, while their compact designs save space. With a focus on precision and efficiency, White Sewing Machines are a popular choice for home and professional use, supported by comprehensive manuals and guides for optimal operation.
1.2 Importance of the Manual for Optimal Use
The manual is essential for unlocking the full potential of your White Sewing Machine. It provides detailed instructions for threading, bobbin winding, and troubleshooting common issues. By following the manual, users can ensure proper machine setup, maintain optimal performance, and extend the lifespan of their device. The guide also offers safety precautions and maintenance tips, helping users avoid costly repairs. Whether you’re a novice or an experienced sewer, the manual serves as a comprehensive resource, enhancing your sewing experience and helping you achieve professional-quality results with ease. Regularly referencing the manual ensures that you maximize the machine’s capabilities and enjoy a seamless sewing process.
Understanding the White Sewing Machine Models
This section introduces key White Sewing Machine models, including W1510, 1740, and 1599, highlighting their features, specifications, and where to find detailed user manuals and guides.
2.1 White W1510 Sewing Machine Features
The White W1510 Sewing Machine is designed for efficient and precise stitching, offering a variety of features to enhance sewing experiences; It includes adjustable stitch length and width, multiple built-in stitches, and a free arm for versatile sewing. The machine also features an extension table for larger projects, automatic needle threading, and a top drop-in bobbin system for easy use. Its durability and user-friendly design make it suitable for both beginners and experienced sewers. The W1510 supports various fabrics and sewing techniques, ensuring adaptability for different projects. Detailed guides and manuals for the W1510 are available online, providing troubleshooting tips and maintenance advice to ensure optimal performance and longevity.
2.2 White 1740 Sewing Machine Specifications
The White 1740 Sewing Machine is a versatile and durable model designed for both home and light commercial use. It features a sturdy metal frame, ensuring stability during operation. The machine offers a range of stitch options, including straight stitch, zigzag, and decorative stitches, with adjustable length and width settings. It includes a free arm for sewing cuffs and sleeves and an extension table for larger projects. The 1740 model is known for its reliability and ease of use, making it suitable for sewers of all skill levels. Its specifications emphasize durability and adaptability, allowing it to handle various fabrics and sewing tasks efficiently. Manuals for the White 1740 are widely available, providing detailed guides for operation and maintenance.
2.3 White 1599 Sewing Machine Overview
The White 1599 Sewing Machine is a high-performance model designed for advanced sewing projects. It features an extensive range of stitch options, including decorative and heirloom stitches, making it ideal for intricate designs. The machine is equipped with automatic needle threading and a built-in needle threader, enhancing user convenience. Its heavy-duty construction ensures durability and consistent performance, even with thick fabrics. The 1599 model also includes a large sewing area, perfect for quilting and large-scale projects. With a comprehensive 48-page user manual, users can easily navigate its features and maintain optimal functionality. This model is praised for its versatility, making it a favorite among both hobbyists and professional sewers seeking precision and reliability.
Parts Identification and Accessories
The White sewing machine includes essential parts like the needle, bobbin, and presser foot, along with accessories such as extra needles, bobbins, and an extension table for expanded functionality.
3.1 Name of Parts (Front View)
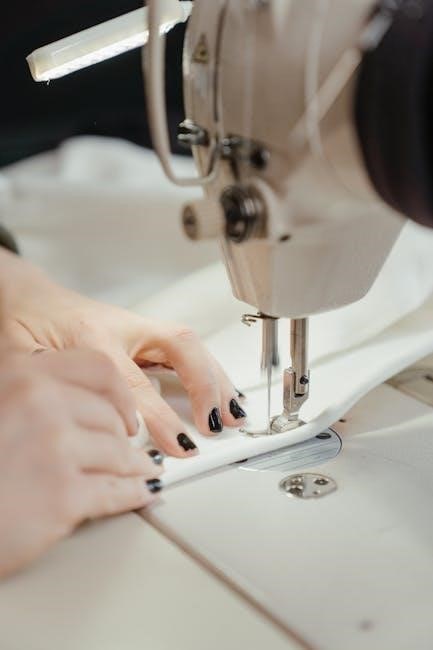
The front view of the White sewing machine features key components essential for operation. These include the spool pins, which hold the thread, and the take-up lever, which controls thread tension; The stitch selector allows users to choose different stitch patterns, while the tension dials adjust the thread’s tightness. The presser foot is located at the base and is used to hold fabric in place. Additionally, the reverse stitch lever enables sewing in reverse. Understanding these parts is crucial for effective machine operation and troubleshooting. Proper identification ensures users can utilize the machine’s features efficiently.
3.2 Accessories Included with the Machine
The White sewing machine comes with a variety of accessories to enhance sewing efficiency. These include bobbin cases, spool caps, and extra needles for different fabric types. The presser feet set offers specialized options like the zipper foot and buttonhole foot. A seam ripper is provided for correcting mistakes, and thread spools are included for initial setup. Additional accessories may vary by model but often include a carry case for portability. These tools ensure users have everything needed to tackle various sewing projects effectively. The manual details each accessory, helping users understand their purposes and proper usage.
Threading and Bobbin Winding
Properly thread the machine by raising the take-up lever and following the guide. Wind the bobbin evenly, ensuring it’s securely installed for smooth stitching operation.
4.1 Threading the Upper Thread
To thread the upper thread on your White sewing machine, begin by raising the take-up lever to its highest position. This ensures the thread is properly seated. Gently pull the thread through the tension discs, guiding it along the machine’s thread guides. Insert the thread into the needle’s eye, leaving a small tail. Lower the take-up lever to normalize tension. Always refer to your specific model’s manual (e.g., W1510, 1740, or 1599) for precise instructions, as slight variations may exist. Proper threading ensures smooth stitching and prevents issues during sewing. Keep extra thread on the spool to avoid tangles or running out mid-project.
4.2 Winding and Installing the Bobbin
To wind the bobbin, place an empty bobbin on the winder and draw the thread from the spool. Guide the thread through the bobbin tension guide to ensure even winding. Start winding slowly, filling the bobbin evenly without overfilling. Once full, cut the thread, leaving a small tail. Remove the bobbin and insert it into the bobbin case, ensuring it sits correctly. Pull the thread gently to seat it in the case. Install the bobbin case into the machine, following the model-specific instructions (e.g., W1510, 1740, or 1599). Always hold both threads when starting to sew to prevent tangles and ensure proper stitching. Proper bobbin installation is crucial for smooth operation.

Basic Sewing Operations
Master essential sewing techniques, including straight stitching, backstitching, and fabric handling. Learn to operate the machine smoothly, ensuring precise control for various fabric types and projects.
5.1 Straight Stitch Sewing
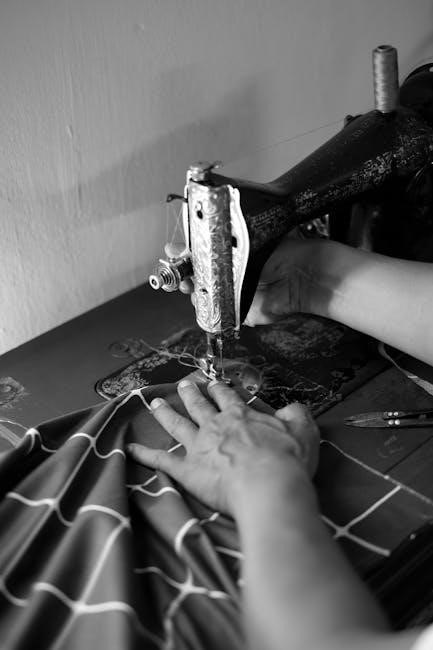
Begin by raising the take-up lever to its highest position and holding both threads about 10 cm to the rear of the machine for the first few stitches. Ensure sufficient fabric is placed under the needle before lowering the presser foot. Gently depress the foot pedal or speed control to start sewing. For straight stitching, maintain steady fabric movement, keeping the edges aligned. To stop, slowly release the pedal and raise the needle. Backstitch at the beginning and end of seams for secure stitching. Always test settings on scrap fabric first. This method works well for straight-line sewing on various fabrics, ensuring clean, consistent results for both beginners and experienced users.
5.2 Starting and Stopping Sewing
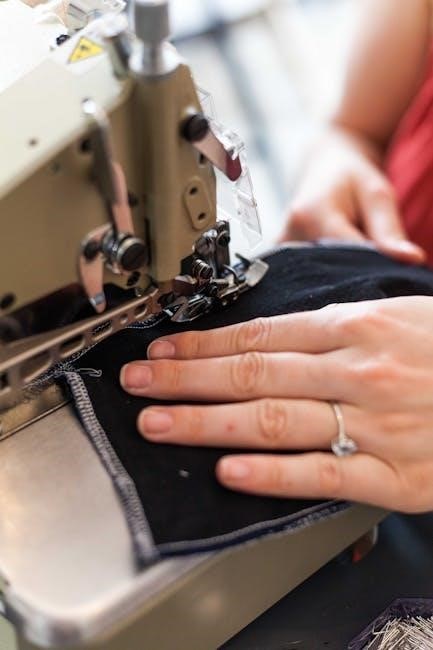
To start sewing, raise the take-up lever to its highest position and hold both upper and bobbin threads gently at the back of the machine. Place fabric under the needle, ensuring it is aligned and smooth. Lower the presser foot firmly and slowly press the foot pedal or speed control to begin. For stopping, gradually reduce the sewing speed and ensure the needle is in the up position. Backstitch at the end of seams for durability. Always turn off the machine and unplug it when not in use. This ensures safe and precise sewing operations, preventing fabric from bunching or threads from tangling. Proper starting and stopping techniques are essential for achieving professional-grade stitching and extending machine longevity.
Maintenance and Care
Regular maintenance ensures optimal performance. Clean the machine, lubricate moving parts, and check for wear. Proper care extends the life of your White sewing machine effectively.
6.1 Routine Maintenance Tips
Regular maintenance is essential to keep your White sewing machine functioning smoothly. Start by cleaning the machine thoroughly, paying attention to the bobbin area and tension discs, to remove dust and lint. Lubricate moving parts periodically with the recommended sewing machine oil to prevent friction and wear. Check the needle regularly and replace it if it shows signs of damage or dullness. Additionally, inspect the power cord and plug for any damage, and avoid using the machine in humid environments. Routine checks and timely replacements will help prevent mechanical issues and ensure consistent stitching quality. By following these simple tips, you can extend the lifespan of your White sewing machine and maintain its performance over time.
6.2 Cleaning and Lubricating the Machine
Regular cleaning and lubrication are crucial for maintaining your White sewing machine’s performance. Use a soft brush or compressed air to remove lint and debris from the bobbin area, tension discs, and under the stitch plate. Avoid using harsh chemicals or liquids, as they may damage the machine’s finish. Lubricate the moving parts with high-quality sewing machine oil, applying a few drops to the gears and shafts. Wipe off any excess oil with a clean cloth to prevent residue buildup. Cleaning and lubricating should be done every 50 hours of use or when you notice increased noise or friction. This routine will ensure smooth operation and prevent premature wear of the machine’s components, keeping it in optimal working condition for years to come.
Troubleshooting Common Issues
Identify and resolve common issues with your White sewing machine, such as thread breakage, uneven stitching, or machine jamming, to ensure smooth sewing operations and extend its lifespan.
7.1 Common Problems and Remedies
Common issues with White sewing machines include thread breakage, uneven stitching, and machine jamming. Thread breakage can occur due to improper threading or tension; check and adjust the upper thread and bobbin. Uneven stitching may result from incorrect needle size or fabric mismatch; ensure the needle type suits the fabric. Machine jamming often happens from tangled threads or debris; clean the machine regularly. For error prevention, always raise the take-up lever and hold threads taut during startup. Refer to the manual for specific troubleshooting steps to maintain smooth operation and extend the machine’s lifespan. Regular maintenance and proper handling can prevent most issues.
7.2 Error Prevention and Solutions
To prevent errors, ensure proper threading and tension adjustment before sewing. Regularly clean and lubricate the machine to avoid dust buildup and mechanical issues. Always use the correct needle type for your fabric to prevent breakage. If the machine jams, turn it off, unplug it, and gently remove tangled threads. For uneven stitches, check the bobbin alignment and thread tension. Avoid pulling fabric forcefully, as this can misalign the needle. Keep the sewing area clean to prevent debris from interfering. If issues persist, consult the manual or contact a professional. By following these steps, you can minimize errors and ensure smooth, efficient sewing operations with your White sewing machine.
Advanced Features and Techniques
Explore advanced sewing techniques, such as using the free arm for curved seams and the extension table for larger projects, enabling versatile and precise stitching capabilities.
8.1 Using the Free Arm and Extension Table
The free arm and extension table are essential for handling various sewing projects with ease. The free arm allows for sewing cylindrical or hard-to-reach areas, such as sleeves or pant legs, by providing better access and control. To use the free arm, simply remove the extension table and position the fabric around it. The extension table, on the other hand, offers a larger work surface, ideal for managing bulky fabrics or quilting projects. It can be attached or detached based on the project’s requirements. For models like the W1510, 1740, and 1599, these features enhance versatility and precision. Always ensure the table is securely locked in place for stability.
8.2 Sewing Special Fabrics and Stitches
White sewing machines are designed to handle a variety of fabrics and stitches, making them versatile for both beginners and experienced sewists. For delicate fabrics like silk or voile, use a sharp needle and reduce the tension. Heavier fabrics, such as denim or canvas, require a heavier-duty needle and increased presser foot pressure. The machines also support decorative stitches, such as zigzag or blind hem, which can be selected via the stitch dial or electronic controls. For specialty stitches, the zigzag foot or other optional accessories may be needed. Always refer to the fabric and stitch guide in the manual for specific settings. This ensures professional-looking results for any project, enhancing creativity and efficiency.
Safety Precautions
Always keep fingers away from moving parts. Never insert pins or sharp objects. Avoid loose clothing or jewelry near the machine. Ensure proper ventilation and avoid overloading the machine.
9.1 General Safety Guidelines
To ensure safe operation, always follow these guidelines: keep fingers away from all moving parts, especially the needle and presser foot. Avoid wearing loose clothing or jewelry that could get caught. Never insert pins or sharp objects near the machine. Keep children and pets at a safe distance. Ensure the sewing area is well-lit and free from clutter. Avoid sewing when tired or distracted. Unplug the machine by gripping the plug, not the cord, and store it securely when not in use. Regularly inspect the machine for damage or wear. Follow the manufacturer’s instructions for maintenance and repairs. These precautions help prevent accidents and extend the machine’s lifespan.
9.2 Handling Moving Parts Safely
Always prioritize caution when handling moving parts of the White sewing machine. Keep fingers and loose clothing away from the needle, presser foot, and other moving components. Never touch the needle or surrounding areas with bare hands to avoid injury. Ensure the machine is unplugged before cleaning or servicing. Avoid inserting pins or sharp objects near the needle or bobbin area, as this can cause damage or harm. Use the provided tools for adjusting or removing parts. Keep the sewing area clear of debris to prevent accidental contact with moving parts. By following these precautions, you can minimize risks and ensure safe, efficient operation of your White sewing machine.